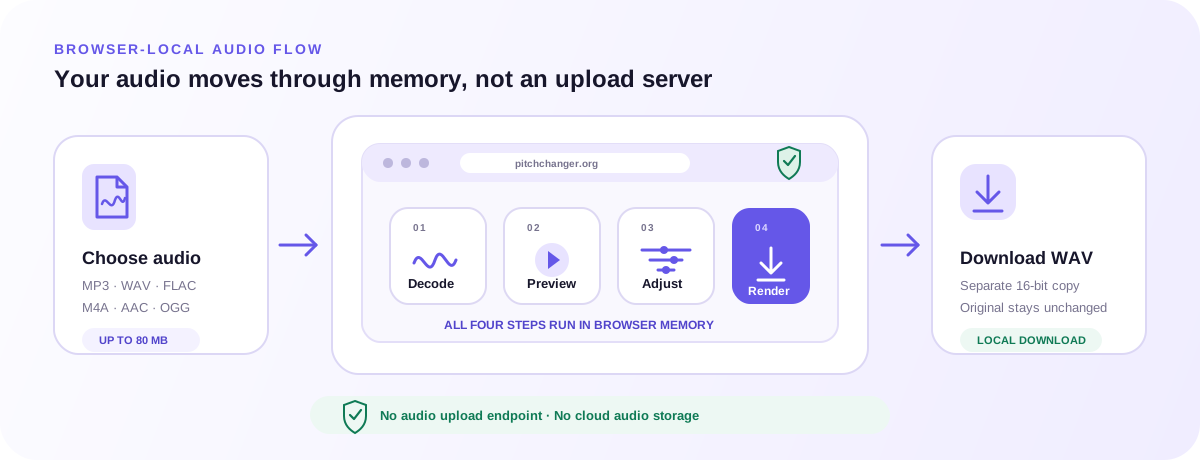
Use this free online audio normalizer to match one file to a Peak or RMS target with constant gain. No sign-up or payment is required. Inspect the input and output levels, compare original and normalized playback, and export a 16-bit WAV without uploading the audio.
Free to use
No sign-up
Files stay local
Audio normalization workspace
Peak or RMS target · Constant gain · WAV export
Files stay local
Drop audio into the normalizer
Measure the complete file, choose a level target, and compare the original with one constant-gain result. MP3, WAV, FLAC, M4A, AAC, or OGG up to 80 MB.
Three local steps
How to use the audio normalizer
Load a file into the audio normalizer, choose a measured target, and compare before exporting.
1
Load one local audio file
Choose an MP3, WAV, FLAC, M4A, AAC, or OGG file up to 80 MB. The audio normalizer decodes it in this tab, rejects empty, oversized, silent, non-finite, or unsupported-channel input, and keeps the original samples immutable while it measures every finite sample across every channel.
2
Choose Peak or RMS and read the measurements
Peak targets are −0.1, −1, and −3 dBFS. RMS targets are −20, −18, and −16 dBFS with a fixed −1 dBFS sample-peak ceiling. The audio normalizer shows input peak, input RMS, output peak, output RMS, applied gain, decoded sample rate, channel count, and whether the RMS gain was reduced to stay under the ceiling.
3
Compare original and normalized, then export WAV
Switch listening source without moving the playhead. Export writes the full decoded duration as 16-bit PCM WAV using the displayed constant gain. The audio normalizer clears an older download after a method or target change so you cannot save a file that no longer matches the visible plan.
What the tool shows and controls
What this Audio Normalizer Measures and Changes
The audio normalizer reports measured levels and peak-ceiling warnings before you accept a gain change.
Complete-sample peak and RMS, not a short scan
The audio normalizer walks every finite sample on every decoded channel. Peak is the largest absolute sample. RMS is the root-mean-square of those same samples. The page reports both input and output values after the planned gain so you can see whether the file moved to the selected target or stopped earlier because of the RMS peak ceiling.
Peak mode for a simple loudest-sample match
The audio normalizer computes the Peak gain that would place the loudest sample on −0.1, −1, or −3 dBFS. This is the default path, with −1 dBFS selected at first load. It is useful when you want headroom that you can describe from the waveform itself. It is not a loudness-unit match and does not look at dialog, gating, or K-weighted energy.
RMS mode with a hard sample-peak ceiling
RMS mode aims at −20, −18, or −16 dBFS average energy, then limits the applied gain so the output sample peak does not exceed −1 dBFS. If the ceiling binds, the audio normalizer lowers the gain instead of clipping, labels the result ceiling limited, and shows the actual output RMS. The file is never driven through 0 dBFS to pretend the RMS target was hit.
Original and normalized preview at one position
Switch between Original and Normalized at the same playhead to compare a verse, snare, or sentence before export. Original plays the decoded source; Normalized applies the planned gain. Export uses that gain regardless of which preview you are listening to.
Clipped input is labeled as unrepairable
If the decoded peak already reaches full scale, the audio normalizer still allows a downward gain, but it states that constant gain cannot rebuild flattened transients or remove distortion that is already in the samples. Normalization is not a limiter, clipper repair, declipper, or mastering chain.
One gain, one WAV, no hidden processing
The audio normalizer applies the same gain to every sample, with no compression, gating, or EQ. It does not measure true peak or LUFS. Export is a full-duration 16-bit PCM WAV at the decoded sample rate and channel count; there is no A–B export selection.
Practical workflows
When to Normalize Audio Instead of Compressing It
Use the audio normalizer for level adjustment while preserving the dynamics of the recording.
1
Match two practice or rehearsal recordings
Use Peak −1 dBFS to give two takes the same sample-peak headroom, processing them one at a time. Compare a vocal or count-in before export. Matching peaks does not guarantee equal perceived loudness, especially when the takes differ in arrangement or tone.
2
Lift a quiet voice note without inventing loudness units
Speech with a low peak can use Peak −0.1 dBFS when you only need it audible, or RMS −18 dBFS when average level matters more than the loudest plosive. The audio normalizer will reduce the RMS request if the peak ceiling binds, which is the honest outcome for a bursty recording.
3
Prepare a file before equalization or pitch work
A wildly quiet source can make later EQ or pitch preview hard to judge. Normalize first, export WAV, then open Online Equalizer or Pitch Changer with a more usable level. Keep the jobs separate: the audio normalizer changes gain, the equalizer changes bands, and the pitch changer changes musical pitch.
4
Create a WAV after an MP3 decode
If the source is an MP3 that you already converted, the audio normalizer still measures the decoded buffer, not the compressed file size. Use MP3 to WAV Converter when the only task is format, then return here when the WAV still needs a documented gain.
Practical checklist
Choose a Target and Trust the Measured Result
Choose an audio normalizer target from the input measurements, then check the actual output.
1
Read input peak before choosing RMS
A peak near 0 dBFS leaves little RMS headroom. For a higher average beyond the ceiling, consider compression in another tool.
2
Keep Peak −1 dBFS as the conservative default
Start at −1 dBFS. −0.1 leaves less headroom; −3 leaves more. These sample-peak targets do not certify streaming loudness or true peak.
3
Treat silence and non-finite samples as failures
A silent file cannot be normalized; non-finite samples are rejected. Choose another file; damaged values are not replaced with invented samples.
4
Compare the same phrase, then export the whole file
Compare Original and Normalized on a revealing passage. Export always covers the full duration, without selected-range output.
5
Keep the source file beside the download
Keep the original and note Peak or RMS plus the selected dBFS target; the tab saves no recipe or history.
Input, output, and privacy
Audio Normalizer Limits, Privacy, and Output
The audio normalizer decodes one local file, applies one gain, and writes 16-bit WAV. It does not implement LUFS, true peak, or streaming-platform loudness rules.
The audio normalizer keeps decoded PCM, measured levels, applied gain, and the exported WAV in this browser tab. Analytics receive only coarse tool actions.
Supported files and browser decoding
The picker accepts MP3, WAV, FLAC, M4A, AAC, and OGG up to 80 MB when the browser can decode the codec. Sample rate and channel count come from the decoded buffer. Mono and stereo are supported; more channels fail before gain is applied. The audio normalizer does not upload the file to look for another decoder.
Constant-gain 16-bit WAV only
The audio normalizer output is one 16-bit PCM WAV. There is no MP3 export, no LUFS target, no true-peak limiter, no batch folder, and no A–B crop. Changing Peak, RMS, or the dBFS value clears an older download immediately.
Private browser-local measurement
PCM, measured levels, applied gain, and the WAV stay in memory. Analytics receive a coarse tool identifier and action, never a filename, sample value, or target number. Closing the tab discards the working state.
Related browser tools
Choose the audio change that matches your task
Pitch, timing, direction, tone, automatic analysis, and tap-based tempo are different audio tasks. Open the tool whose controls match the result you need. Any file you choose stays inside that tool’s browser-local workflow.